Showing posts with label high altitude. Show all posts

Saturday, May 19, 2012

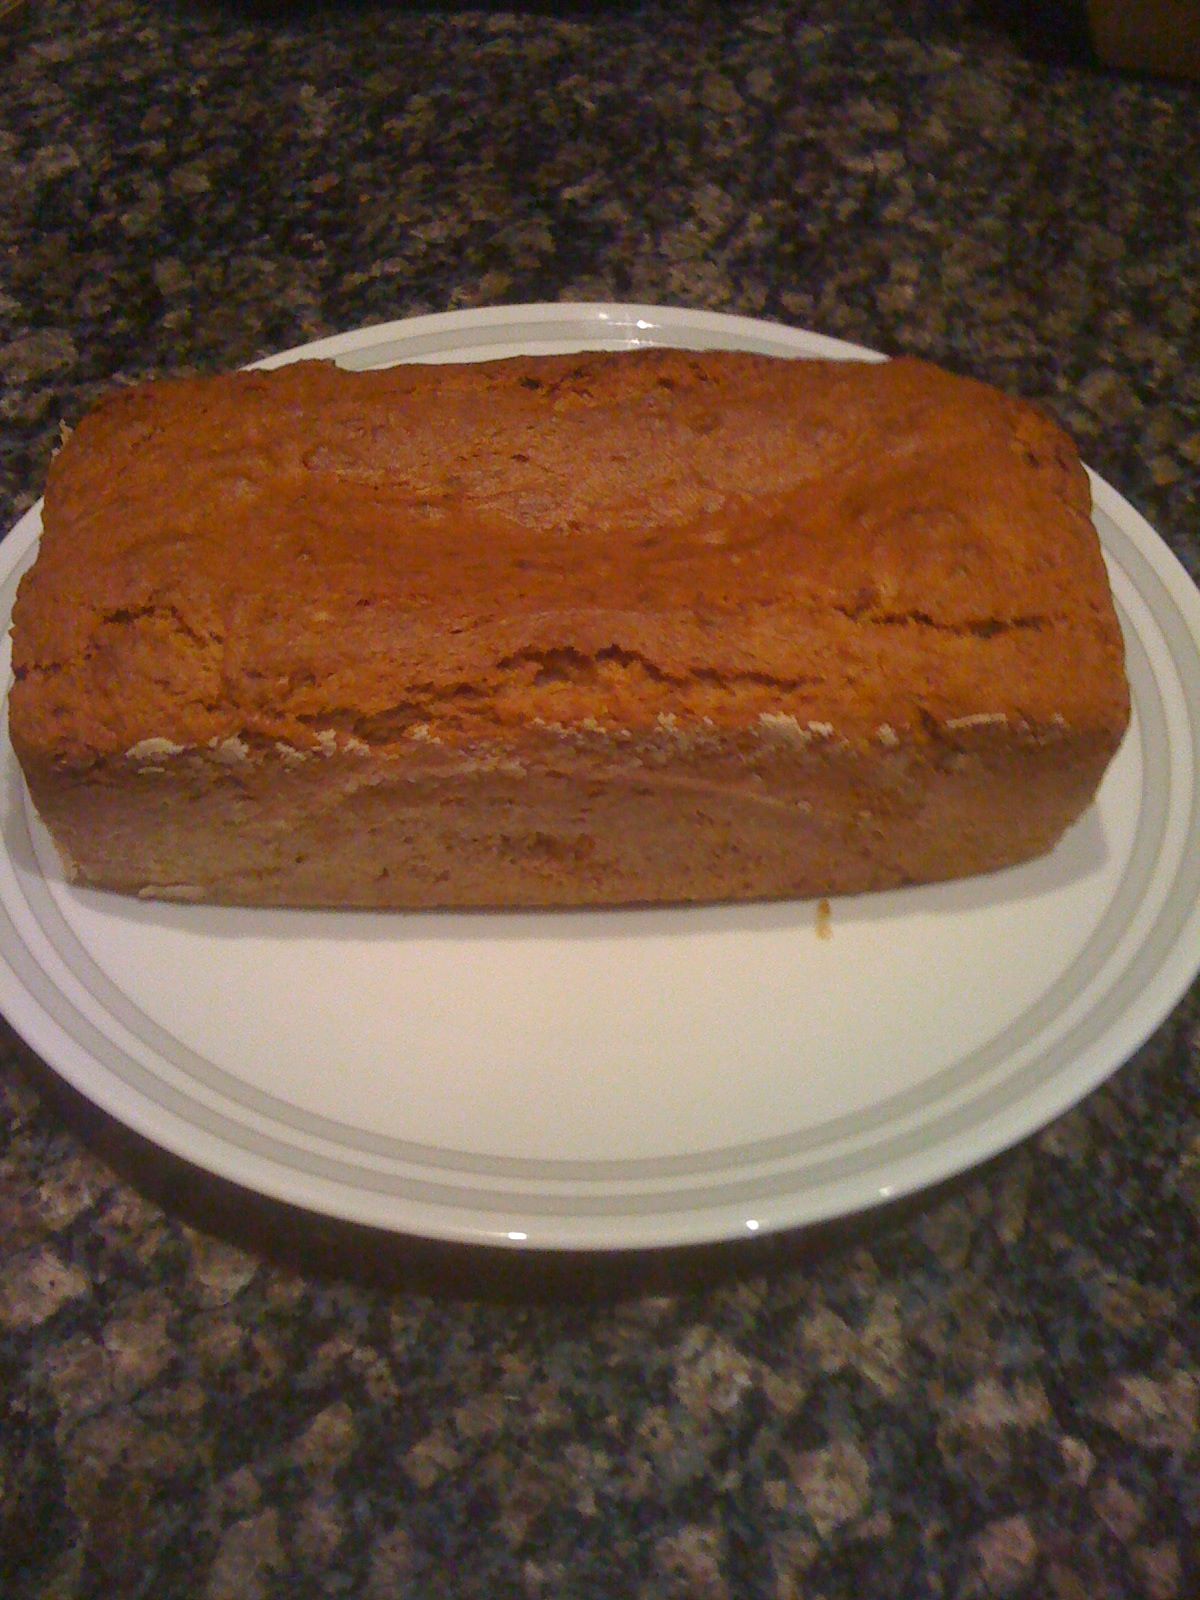
Apple Cider Cake

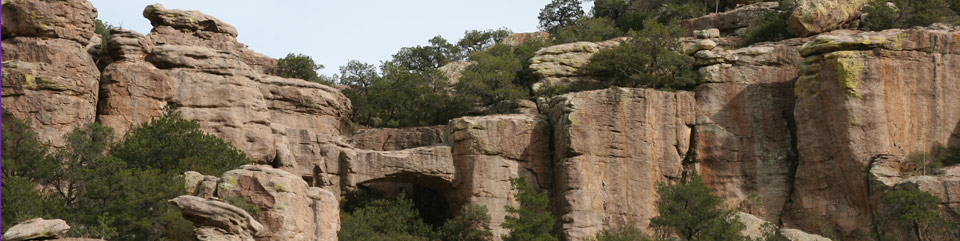
My beautiful and creative daughter Lauren came across this recipe in an antique book in the museum collection from Chiricahua National Monument. http://www.nps.gov/chir/index.htm


Natural Bridge Trail


 The book is called Dr. Chase's Last Receipt Book and Home Physician and was published around 1907.

Dr. Chase's third, last and complete receipt book and household physician, or, Practical knowledge for the people: From the life-long observations of ... on the diseases of women and children

She tried the original recipe at her home in Tucson (elev. 2463 ft.) and found the recipe to be WAY too dry. After several tries at it, she perfected the recipe and has created a much moister cake.  The new and improved recipe was launched at a volunteer appreciation pot-luck to rave reviews.

As it turned out, this moist, dense cake recipe didn't require any alterations for high altitude other that perhaps a little longer baking time. (I forgot to (a) set the timer or (b) look at the clock before putting it in the oven! )


I'm not even going to post the original recipe since it was a dud, but I'm happy to present:

Lauren's New (Old) Apple Cider Cake ©Egg Free At Altitude

Preheat oven to 350° F
Cake:
1½ cups sugar
¾  cups butter (softened)
2¼ cups apple cider (cider was not available, so I used unfiltered apple juice)
8 oz. applesauce (hint: 2 single serving cups of applesauce = 8oz.)
2 Tbs. instant vanilla pudding mix
4½ cups flour
1 tsp. soda
1 tsp. cinnamon
1 tsp. cloves
Icing:                                                                                         
1 cup powdered sugar
2-3 Tbsp. cider (apple juice)
½ tsp. cinnamon
½ tsp. cloves

In large bowl, cream butter and sugar.
In another bowl, mix dry ingredients.
In yet another bowl, stir together applesauce and apple cider.
Using your electric mixer, add wet and dry ingredients to butter/sugar mixture, alternating wet and dry.
Grease and flour one bundt pan and add the batter.
Bake for about and hour or so at 350°. Use a skewer or a clean knife to check that the cake is done. 
When cake is done, remove pan from oven and let the cake sit for ten minutes in the pan before flipping onto a cooking rack. Lift off pan without burning yourself and swearing.
Let it cool completely and then move to a serving plate.
Make the icing by mixing the dry ingredients and adding the cider 1 tsp. at a time until it reaches optimum drizzling consistency.

Drizzle with cider icing.

Slice it.  Serve it.  Be fabulous.  Graciously accept compliments.


Monday, May 14, 2012

The Best Nearly Vegan Buttermilk Pie You've. Ever. Tasted.

My daughter Lauren's friend made this pie for Lauren's birthday this year.  It is tangy and sweet and delicious.  It was originally a vegan recipe, but I "un-veganized" it to take advantage of real buttermilk and real butter. The only adaptation I had to make for high altitude cooking was an extended baking time. Next time, I will probably raise the baking temperature to see if that moves the cooking time along.

The original recipe came from the blog Voraciouseats.com which became VeganNoMore.com.  Sadly, both sites are now gone and there is no link to direct you to or name I can give credit to.  If anyone knows the name of the recipe originator, I would love to give credit where credit is due, and to send her my heartfelt thanks!

This is as close to my beloved Buttermilk Pie recipe as I have come since giving up eggs. Enjoy!


1 box of Silken Tofu, extra firm
¼ cup softened butter (can substitute vegan butter)
¾ cup buttermilk (can substitute ¾ c coconut milk + 4 tsp apple cider vinegar, mix and let curdle)
1 tsp vanilla
5 Tbsp flour
1½ cups sugar
pinch of salt
1 unbaked pie shell

In blender or food processor combine the tofu, butter and vanilla. Blend until completely smooth with no lumps or grittiness.

Add the buttermilk and the flour and blend again until completely smooth.

Add the sugar and a pinch of salt and blend completely together. A little grittiness from the sugar is OK.

Pour into the pie shell and bake at 325° for 1 hour. Check at 45 minutes to make sure that it isn't getting too brown on top. It should be a pretty caramelized color when done. (For high altitudes, try either baking longer or increasing oven temperature to 350° to get the nice caramel color on top.)

When you remove it from the oven, it will be jiggly in the center, but don't worry. Let it cool, then put in the fridge overnight.

Yum, Yum, eat 'em up!


Tuesday, August 30, 2011

Yummy Cornbread

Well, it's been about a month since I last posted. Clearly, either I am totally lazy, or just a bit busy. Let's go with busy. It sounds better don't you think?

I'm still tinkering with the recipe for the Awesome Cake, but I think I'm really close. It's hard to try to make all these baked goods and keep my "girlish figure." (She says with tongue firmly in cheek.)

Today's recipe is for some excellent cornbread. The original recipe is copyright protected, but I will refer all you low-landers to Rosemarie Emro's book Bakin' Without Eggs. It's a terrific cookbook for people with food allergies- lots of great recipes.  Unfortunately, so far, they don't work at high altitude.

I know my mother won't approve of this particular recipe, because she likes her cornbread without any sugar in it. All I can say is, "Mom, at high altitude, it needs something to help it rise, or it will be more like a very thick tortilla chip." I did cut down on the sweetener from the original recipe and I don't think it tastes very sweet. The original recipe also called for more baking soda and less flour, but it just couldn't hold its own against the lack of air pressure.

So here's my adaptation for Easy Cornbread.

1     c cornmeal
1½ c flour
¼   c sugar
1    T baking powder
¼    t baking soda
½    t salt
1¼  c milk
2    T white vinegar
½   c vegetable oil

Pre-heat oven to 375°. Lightly grease an 8" x 8" square pan.
In a large bowl, combine all the ingredients. Stir with a wooden spoon until just mixed.

Pour out into prepared pan and bake for about 25 minutes or until golden brown. Let it cool a bit, then cut it up and eat it with butter!
 

Sunday, July 31, 2011

Lauren's Luscious Pink Lemonade Cupcakes

All the credit for this recipe goes to Lauren. She did all the experimentation and figured everything out. All I did was adapt it for high altitude. These are some YUMMY cupcakes. They are sweet and tart and delicious and SUPER EASY.


Here's her original recipe and the EggFreeAtAltitude© adaptation all in one spot:

Mix 1½ cups carbonated lemonade (a 12 oz. can) with on boxed white cake mix. The lemonade MUST be carbonated for this to work. (High altitude adjustment: add ¼ cup flour)


Add one small pouch of Kool-Ade Unsweetened Pink Lemonade drink powder.

Add 1 tsp vanilla.

Beat with hand mixer on low speed for about 2 minutes.

Fill 18 cupcakes and bake according to box. Both Lauren and I had to bake these a little longer than suggested to get them lightly brown around the edges.

Let the cupcakes cool completely.

Mix half of a pouch of Kool-Ade Unsweetened Pink Lemonade drink powder into a can of vanilla frosting. 

Frost. Eat. Yum.

Throw away the remaining half pouch of drink mix, because only crazy hoarders keep little bits of cheap drink mix. ( Do you think Lauren was trying to tell me something???)


Wednesday, June 22, 2011

Molasses Cookies- YUMMMMMM Both Egg and Dairy Free

These Molasses Cookies turned out to be an easy win. The same old recipe that I got from my mother and have been using for probably going on 40 years works just great at high altitude! The only substitution I make to the original recipe is Ener-G in place of the egg. 

 Molasses Cookies

¾ cup shortening (melted and cooled)
1 cup of sugar
¼ cup of molasses
1 egg or Ener-G egg replacer mixed to 
      equal 1 egg
2 cups flour
2 tsp baking soda
½ tsp cloves
½ tsp ground ginger
1 tsp cinnamon
½ tsp salt

Melt and cool shortening.  Mixing all ingredients by hand, add sugar, molasses, and egg substitute (or egg).  Stir in remaining ingredients. Chill. Roll into balls and then roll in sugar.

Bake at 375° for about 8 minutes.

Yield: about 3 dozen


Wednesday, May 11, 2011

Three Tries at Banana Bread


After trying so hard for the last week to get a decent loaf of Banana Bread, I think I may have finally hit on the right combination of ingredients. I first made the Banana Bread as I always do. It fell. Tasted great. Not too pretty, but I wouldn't have been ashamed to serve it.

I made a second attempt and it looked a lot like the first try, but the third time was the charm. I changed a lot of things and it came out really pretty.


Here's the original recipe. This is an old family recipe that came from my mother:

2 c flour
1 t baking soda 
½ t salt
1 c sugar 
½ c butter
2 eggs
1 cup mashed bananas (about 3 medium) 
½ c chopped nuts (optional)

Bake at 350° for about an hour or until a toothpick inserted in the center comes out clean. This recipe works well by just substituting Ener-G Egg Replacer prepared as directed on the package for the eggs. I generally don't include the nuts.

This is the Eggless at Altitude©  Recipe:
2 c + 2 T flour
¼ t baking sod
½ t salt
1 c - 2 T sugar
½ c butter
Ener-G Egg Replacer prepared to equal 2 eggs
1¼ c mashed bananas (about 3 medium)
2 T sour cream
½ c chopped nuts (optional)

Blend butter, sugar, bananas, and sour cream. Add dry ingredients and mix well. Add the egg replacer last. Pour into greased and floured loaf pan. Bake at 350° in the lower third of a preheated oven for about an hour and 15 minutes or until a toothpick inserted in the center comes out clean.

*5/12/11 Breaking News: After sampling this loaf this morning, I think that it could definitely be improved by the addition of nuts, or maybe craisins, or something chunky. The texture is more cake like and it is very pale in color.

Both of these recipes can be made dairy-free by using shortening and substituting a dairy free sour cream. I have not tried them with soy margarine.


Thursday, April 21, 2011

First Success

As I write this, I am scavenging the dropped cookie crumbs from the computer keyboard and Marco is sniffing around my feet hoping for some crumbs to land on the floor.

After an afternoon trip to Las Cosas to stock up on shiny new bakeware and an oven thermometer, there is finally a plate of Vanishing Oatmeal Raisin bar cookies cooling on the kitchen island.


I made a few minor adjustments to the recipe:
1. The original recipe recommended increasing the amount of flour for high altitude.
2. Of course, I used Ener-G egg subtitute for the 2 eggs.
3. The oven temperature was a little hot, so I cut back the baking time. Anyone know how to calibrate an all digital oven with a touch-pad?   Perhaps I should read the manual. Ha! Like that's going to happen!
4. And lastly, I substituted Craisins for the raisins. (Raisins are evil and an abomination to all things baked. But don't let me influence your opinion of the vile, shriveled things.)

As soon as they came out of the oven, I cut the cookies  into bars and promptly ate two big ones!

One minor success and I am inspired to try something else tomorrow.